3D Scanning and Printing
Overview of week 5
Group Assignment
- Test the design rules for your 3D printer(s)
- Document your work on the group work page and reflect on your individual page what you learned about characteristics of your printer(s)
Individual Assignment
- Design and 3D print an object (small, few cm3, limited by printer time) that could not be easily made subtractively
- 3D scan an object (and optionally print it)
Individual Assignment :
Additive Manufacturing
Additive Manufacturing or 3D printing, is a process of creating objects layer by layer from a digital model. It enables the production of complex and customized designs that are difficult with traditional manufacturing. This technique minimizes material waste, making it more efficient and sustainable. It is widely used in industries like aerospace, healthcare, automotive, and consumer goods. It allows for rapid prototyping, reducing development time and costs.
Techniques
- Fused Deposition Modeling (FDM) – Melts and extrudes thermoplastic filament layer by layer.
- Stereolithography (SLA) – Uses a UV laser to cure liquid resin into solid layers.
- Selective Laser Sintering (SLS) – Fuses powdered materials (plastics, metals) using a laser.
- Direct Metal Laser Sintering (DMLS) / Selective Laser Melting (SLM) – Creates metal parts by melting metal powder with a laser.
- Binder Jetting – Uses a binding agent to bond powder materials.
- Electron Beam Melting (EBM) – Similar to SLM but uses an electron beam instead of a laser.
- Material Jetting – Deposits material droplets that are cured with UV light.
In my case I go with the Fused Deposition Modeling for my 3D printing.
3D Printing Materials
Plastics
- PLA (Polylactic Acid) – Easy to print, biodegradable, for prototypes.
- ABS (Acrylonitrile Butadiene Styrene) – Strong, impact-resistant, for durable parts.
- PETG (Polyethylene Terephthalate Glycol-Modified) – Tough, moisture-resistant, for functional parts.
- Nylon – Flexible, durable, for industrial use.
- TPU (Thermoplastic Polyurethane) – Rubber-like, for flexible applications.
Metals
- Stainless Steel – Strong, corrosion-resistant.
- Titanium – Lightweight, high-strength, for aerospace & medical.
- Aluminum – Durable, used in automotive & aerospace.
Resins
- Standard Resin – High detail, smooth finish.
- Tough Resin – Impact-resistant, functional parts.
- Flexible Resin – Rubber-like, soft-touch applications.
Composites
- Carbon Fiber Reinforced – Lightweight, strong, for aerospace & automotive.
- Glass Fiber Reinforced – Tough, impact-resistant.
I utilized the PLA material to print my design.
3D Design
I am planning to design the Voronoi modeling in this week assignment.
Voronoi modeling is a geometric technique that divides space into regions based on proximity to seed points. Each region, called a Voronoi cell, consists of all points closer to its seed than to any other. It is widely used in 3D printing, architecture, computer graphics, and optimization. The pattern resembles natural structures like honeycombs and cell formations. Voronoi structures help create lightweight, organic, and efficient designs. It is also known as Thiessen polygons, Dirichlet tessellation, and cellular decomposition. This modeling technique is valuable for generating complex yet structurally optimized designs.
Blender
I start working with the blender at first, I looking forward in online w/hich design is suitable for that, then I have an idea about to create the 3D model by using the AI tools and recreate with it by using the blender.
I found out the one AI tool - Trellis. By using that I create the 3D model without taking any effort only using the online image.

I look only luffy head part, but I am not satisfied with the other head picture so I took it up then used this image to create the 3D model.

It comes pretty good, but it also want to clean the extra portions of AI generation. I download as glb file and import it into the Blender. After import it, I did the deleting process of extra parts and seperate the Luffy’s head.

After the cleaning process I back to the Voronoi modelling, I used some tools to create the structure by referring some tutorials.

Then I get this 3D structure, its but its look like I also need to work in it again so much, i try so much to get the proper design but its really hard for the beginners like me.
So I planning to do the design like it by using Fusion 360 because its very familiar to me, I have some practices in fusion in my college period.
Fusion 360
This time I have another idea to create the another 3D design, so again Iooking which design I will model through online, after I made the decision to create the Iron man mask award in the form of Voronoi modeling.
I used the Form modeling to design the Iron man face like structure,

Then I change my selection parameters setting in my Fusion for selecting the required line edges. After selecting the required edges I converted it into the 3D model with the help of its reference.

Then I get this masterpiece, I create the base for that and compine it as well, and also wrote the Tony stark’s one quote - “ PART OF THE JOURNEY IS THE END ”

Then I rendering too…

Slicing Process
Flashprint
I use the Flashprint software to slice the 3D model. Here is the link for download the Flashprint - link
After I import the stl file into the Flashprint, set the positions and orientation regard to the best printing output. Started the slicing after enable the support layer, there is two options for the supporting part, one is normal line support and the other one is tree shape support. But in my case the line structure support is more suitable for the better output print.


Then I adjust some parameters like infill density 60%, infill pattern Gyroid, Raft support for good base withstand in height based printing etc…

Then I took out the gx format to give input into the Flash forge printer.
3D Printing
In our lab we have the Creator 3 Pro 3D Printer - Flash Forge.

Specification
| Print Size (L x W x H) (mm) | 300 x 250 x 200 |
| Machine Size (mm) | 627 x 485 x 615 |
| Printing Speed (mm/s) | 10-150 |
| Extruder Type | IDEX (Independent dual extruders) |
| Printing Precision | ±0.2mm |
| Nozzle Diameter (mm) | 0.4mm(0.6/0.8mm) |
| Screen Type | 4.3-inch |
| Extruder Temperature (°C) | 320 |
| Heatbed Temperature (°C) | 120 |
| Filament Compatibility | ABS, ASA, HIPS, PA, PACF, PC, PETG, PLA, PVA, WOOD |
| Data Transmission Method | USB/Wi-Fi/Ethernet |
After importing the gx file into the printer, I prepare the printer for printing . I cleaned the surface of the bed for good attachable with the filament, set up the filament material in the printer and make sure the filament come across through the nozzle.
Started the 3D printer, and observe the base layer whether it is print good or not, because the base its mantitory to get the desired output so we need to precheck before going into the full print.
The base print cames good as I expected, then i leave the printer to print the rest of it and also cross check one time after its complete around 2 hours, the text also cames good.

After 12 hours Printer print everything, and I took out it outside from the printer.


By using the wire cutter I removed the supports properly with careful action, the wire frame structure is very sensitive so we need to remove the other layers smoothly as much as poosible.


3D Scanning
3D Scanning is a process of capturing the physical shape and dimensions of an object using laser, light, or structured sensors to create a digital 3D model. It enables accurate measurement, reverse engineering, and inspection. There are various types, including laser scanners, structured light scanners, and photogrammetry. The scanner collects point cloud data, which is converted into a mesh model. 3D scanning improves design efficiency and reduces prototyping time. It’s widely used in 3D printing, quality control, and virtual simulations.
We have no 3D scanner in our lab unfortunately, so I did the 3D scanning by using the mobile app.
There are so many softwares are available in the playstore, though I used the Polycam software to do the 3D scanning the object.
After I download it from the playstore I sign in my google account to open it, after getting done it I enter the Camera mode user interface.

Then I take my Buddhar head statue and take the photos covering all sides, more or less I take the 50 photos do get the proper mesh, that software also suggest us to take more than 24 photos by covering all sides instead it won’t go the next steps.
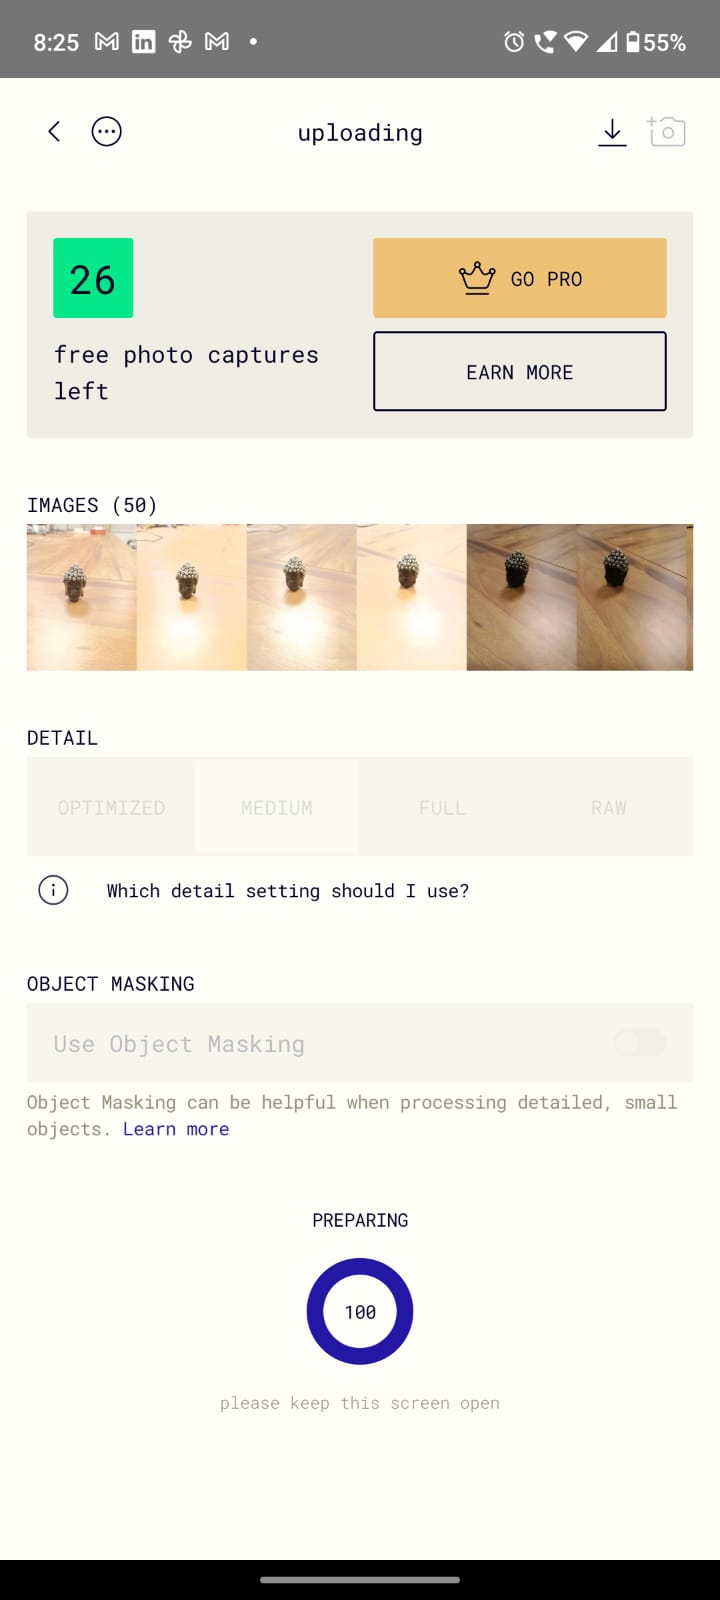
It take some time to processing it properly, at first I got nothing I repeat the process 3 to 4 times, after it is uploading and processing completely.
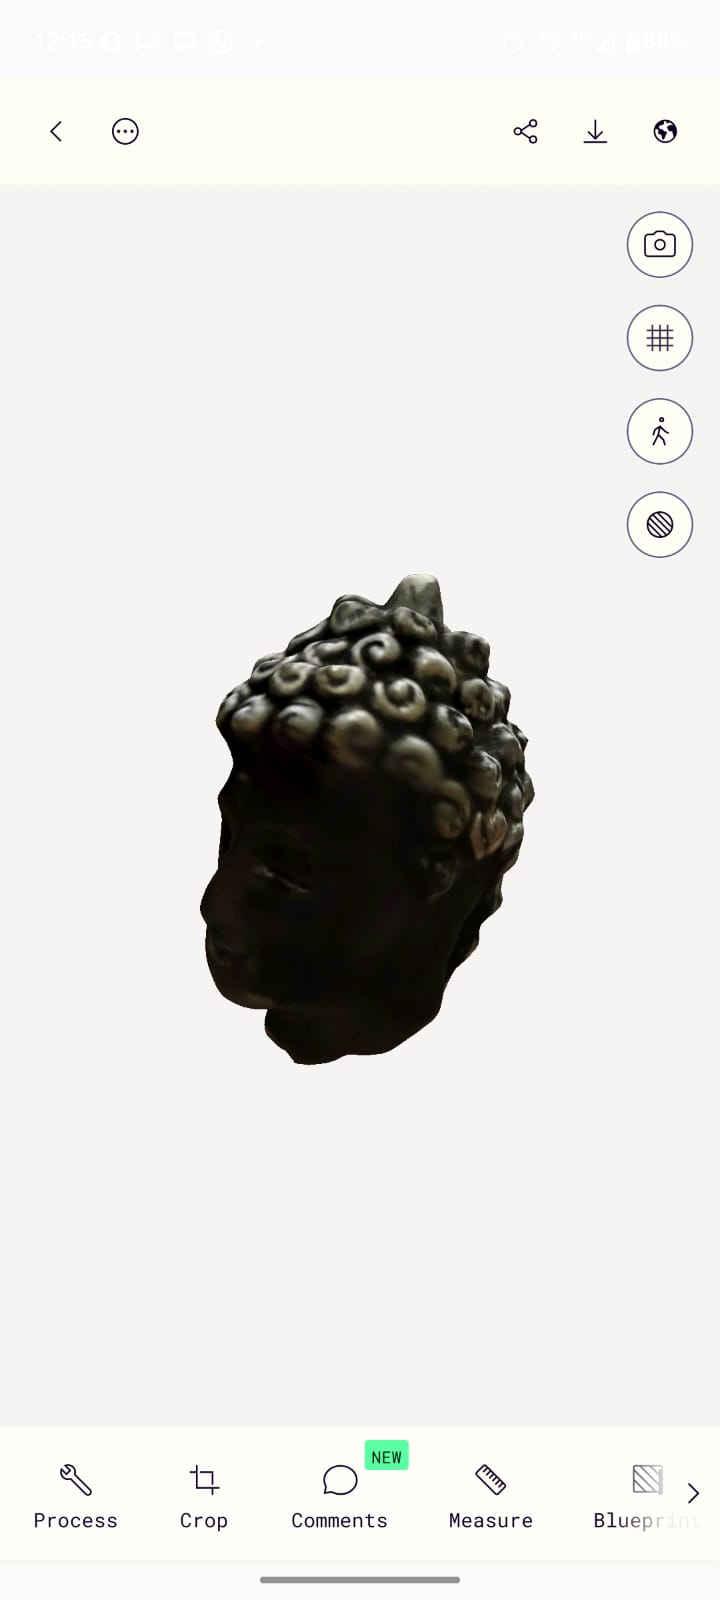
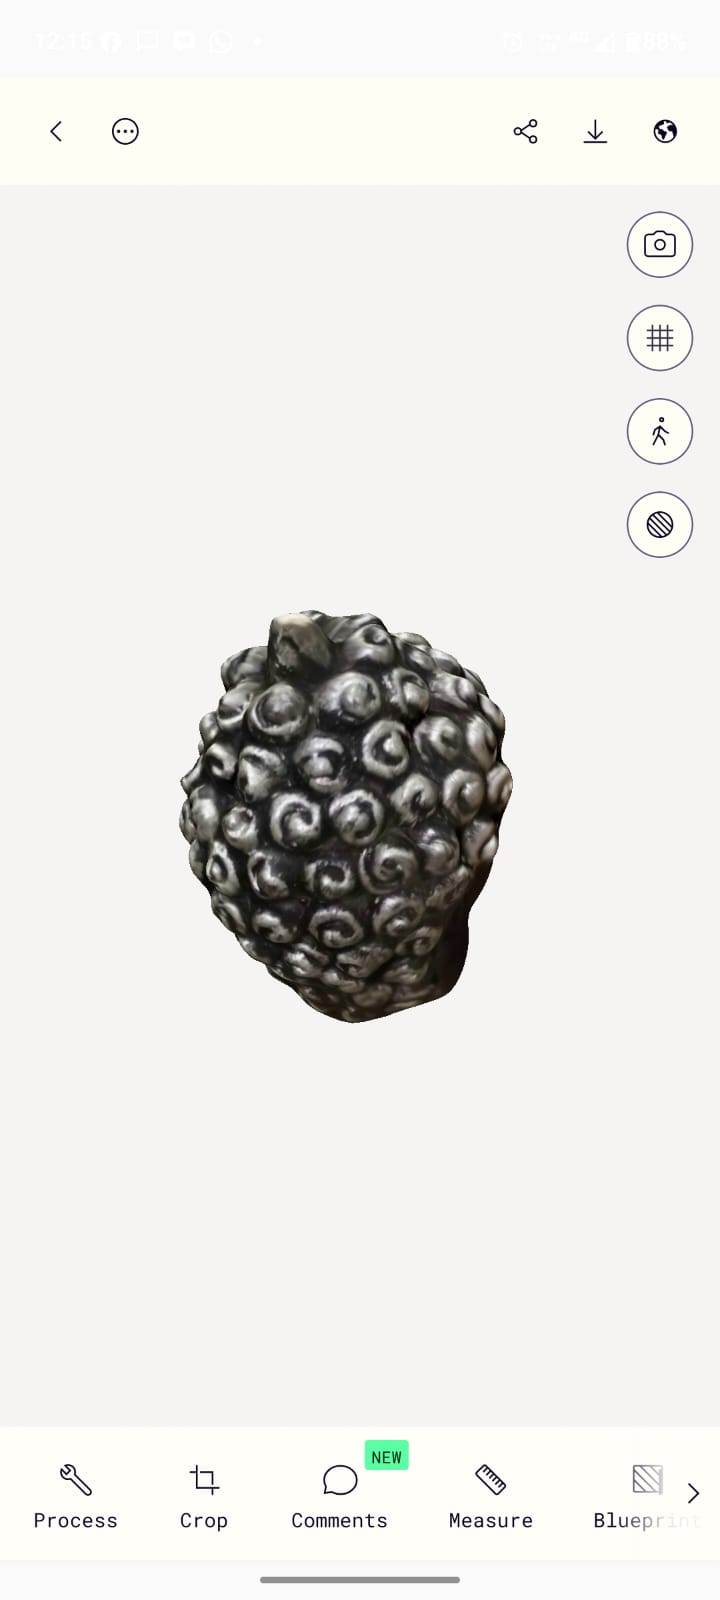
By using this option in right side which is shown you can see the mesh
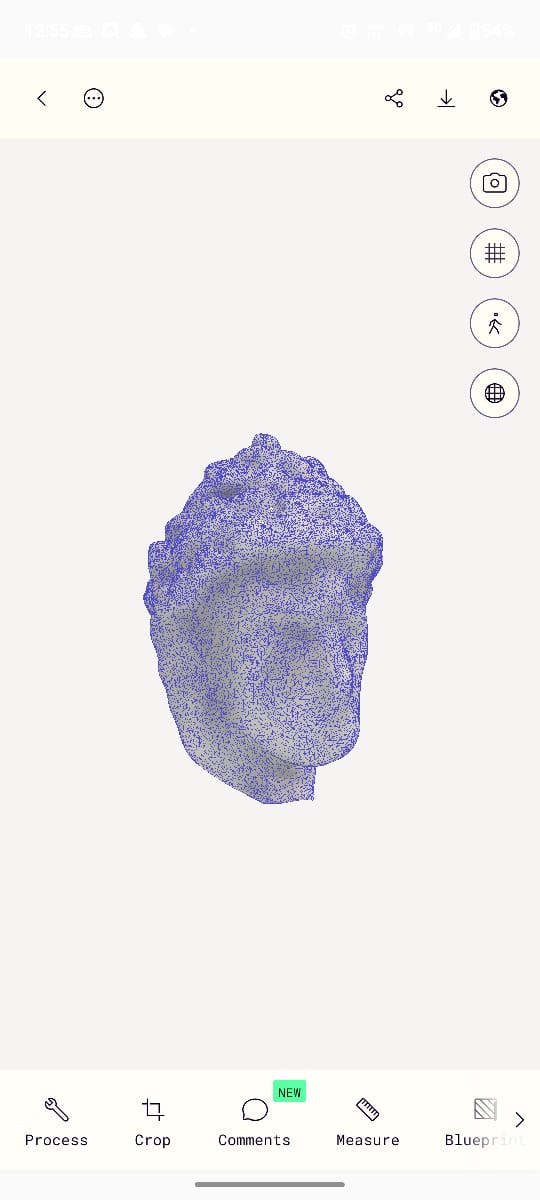
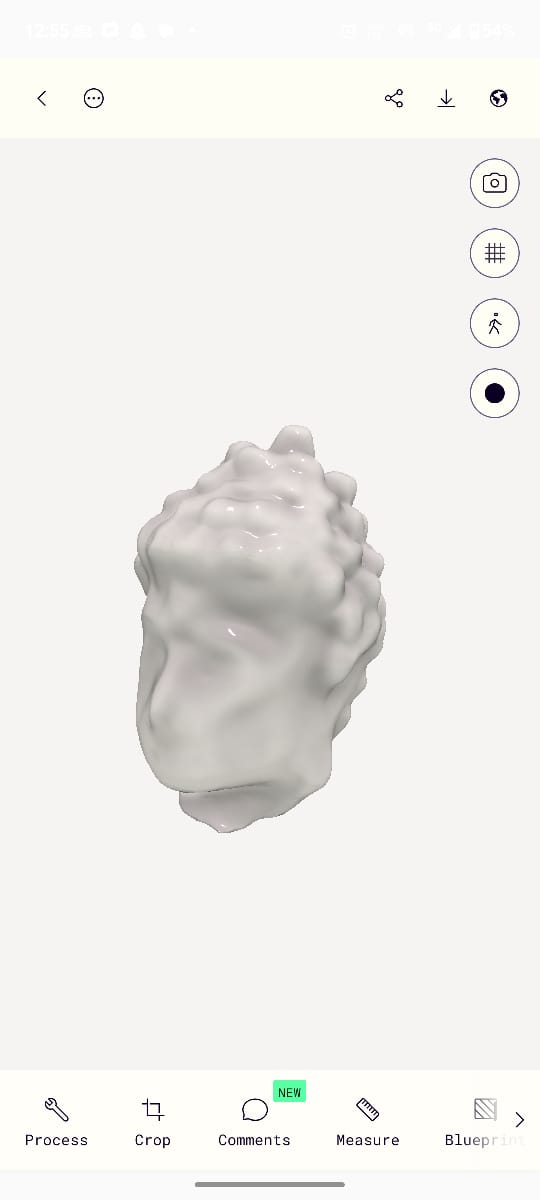
It comes good as I expected, but in the dowload option more familiar files are in premium.
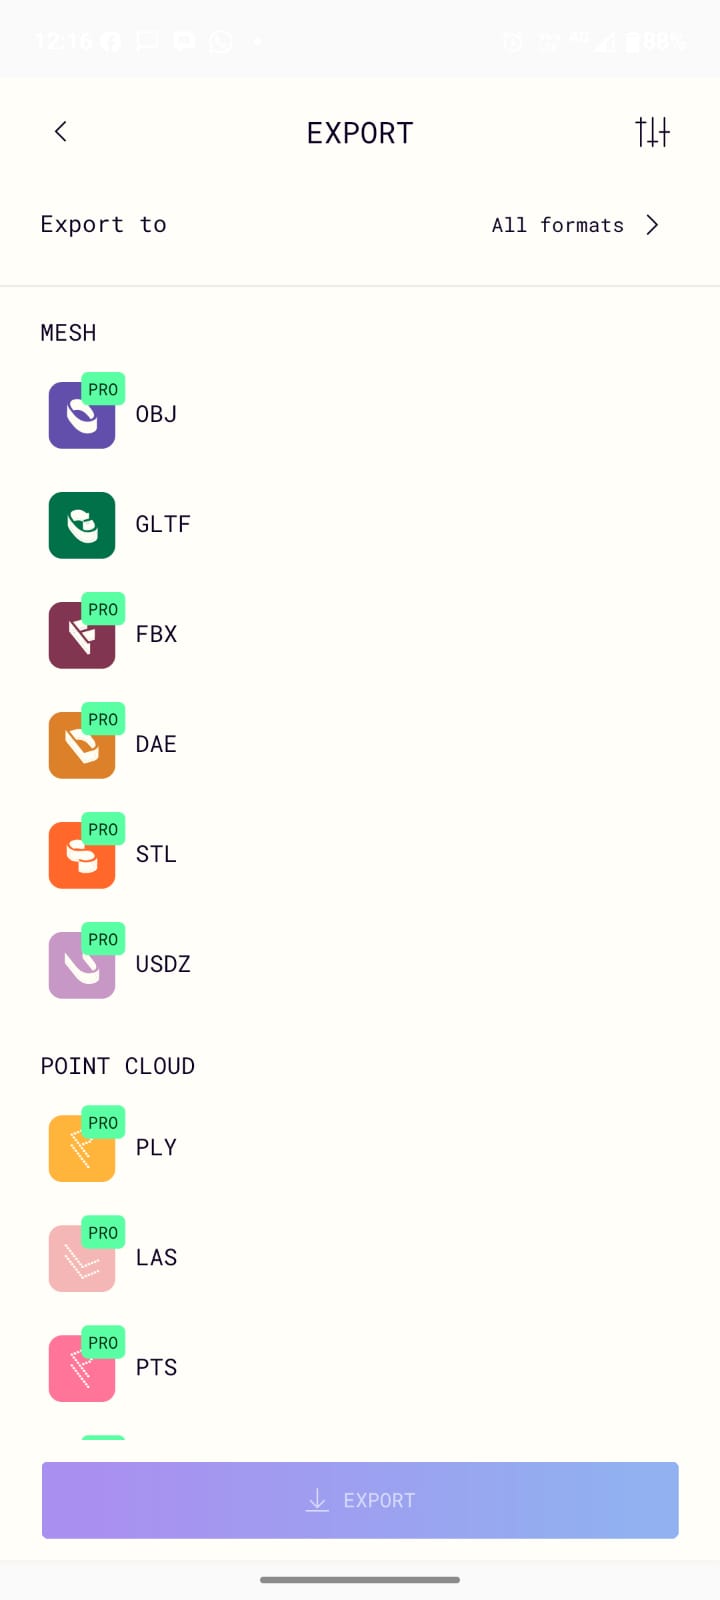
I have only the GLTF option are left, So I save the file in that format. Even though Polycam are good software to do the 3D scanning it has also some limited issues, one account user only uses it free to totally 15 times only after that they will charge the premium if you want more otherwise you will open the app with different account.
Reference Files
Here is my STL file of Iron man momentum and Buddhar Head Statue of mesh file
